Installation guide for Python Geospatial packages
Please note: As of 2025, this guidance page for setup using Anaconda is no longer being updated. Anaconda Prompt/Miniconda are still available for download. The Python packages listed on this page however remain the packages recommended by ONS for geospatial analysis
Before you start:
The goal of this guide is to create a Python virtual environment which will support geospatial work in Python. A virtual environment has two components: the Python interpreter that the virtual environment runs on, and a folder containing the libraries installed in the virtual environment. The main reason we use virtual environments is to isolate different Python projects because Python cannot simultaneously use multiple versions of the same package. The isolated environment also ensures that there are no complications with different tasks requiring different and conflicting dependencies.
Before you create the Python virtual environment, you will need to install Anaconda. This is a distribution of Python used for data science, [more information here]((https://www.anaconda.com/download).
If you are part of another government department and using a networked laptop, please approach your IT team for how to install Anaconda Suite.
Once it is installed, open Anaconda Prompt (this can be done from the start menu).
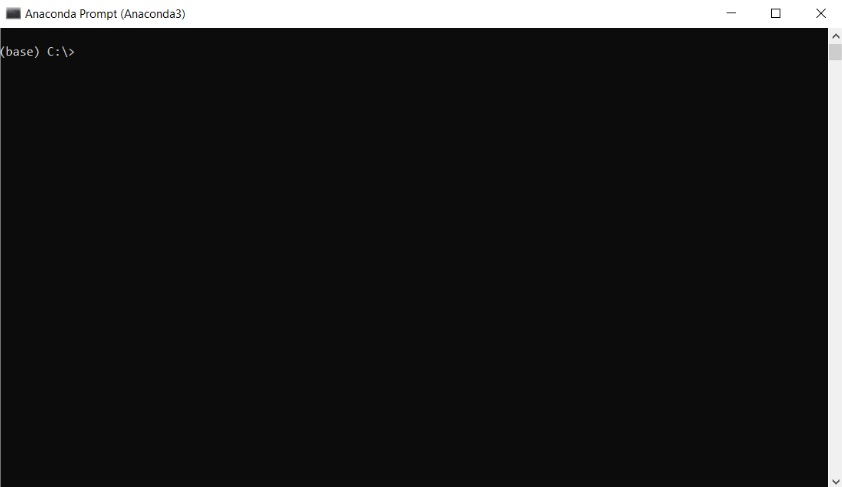
The prompt should say “(base) C:>”. Base is the standard conda environment which behaves similarly to Python. The goal of this guide is to create a GeoPy environment which will support geospatial work in Python.
C:\ is the working directory, which in this case is the root directory of the system drive. If this is not “C:\”, type ‘c:’ to set the system drive to the working directory.
If you’re not confident working with the command line, the Codecademy course Learn the Command Line might be a good place to start.
Installing the packages:
Once you’re happy to continue, in the prompt type:
conda create -n geopy38 python=3.8
This will create a new virtual environment for python called GeoPy38, which is where we will install the geospatial packages.
This can potentially take a while (up to a few minutes). Getting a coffee might be a good use of this time and will help with future steps! ☕
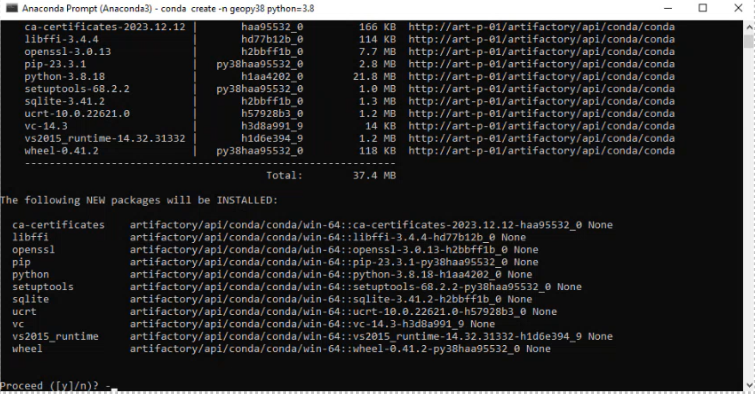
Press y and enter when prompted. Please note that this process can fail with a 500 error. If this happens wait a little while and try again.

To activate the environment, type:
conda activate geopy38
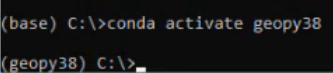
If the steps until now have worked it will now say “(geopy38)” before the prompt, indicating that you are in the GeoPy environment. Next, type:
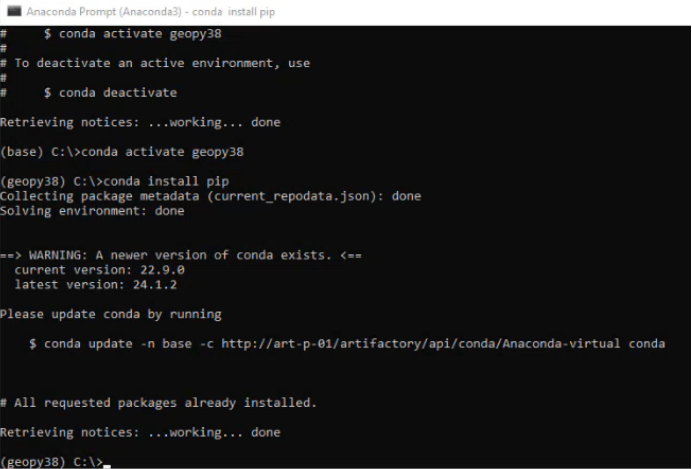
conda install pip
This could also take a little while as it’s a large install. This would be a good time to make use of that coffee from earlier. ☕ PIP (Package Installer for Python) is used to install and manage packages that are not part of the Python standard library. You can use pip to install, upgrade, and uninstall packages.
Now we can install the packages. Type each of these in sequence, followed by enter. (wait for each package to complete installation before moving on to the next one). You can also copy and paste from this list, one at a time:
pip install numpy==1.22.4
(It is possible that NumPy might not install correctly. If so, in Windows Explorer go to user\Anaconda3\envs\geopy38\Lib\site-packages and delete a file there called ~unpy. Try again and NumPy should install)
pip install pandas==2.0.3
pip install ipython==8.12.3
pip install ipykernel
pip install rtree==0.9.7
pip install gdal==3.2.2 (It is possible that gdal may not install correctly. Packages such as Fiona contain the parts they requiree from gdal, so if you do not specifically require gdal and Fiona installs correctly, ignore this and carry on)
pip install fiona==1.8.18
(It is possible that Fiona might not install correctly. Ignore any error messages and carry on, as the later packages come with their own version of Fiona when installed)
pip install pyproj==3.0.1
pip install shapely==1.7.1
pip install geopandas
pip install matplotlib
pip install mapclassify==2.4.2
pip install folium
python -m ipykernel install --user --name geopy38
Why install these packages in particular?
| Package | Use |
|---|---|
| numpy | Useful for creating arrays (of XY coordinates or an elevation raster, for example) and manipulating numerical data inside them |
| pandas | Data manipulation package for tabular data (DataFrames). Import, export, clean, aggregate data with pandas |
| ipython | An interactive python shell. Acts as a kernel for Jupyter notebooks |
| ipykernel | Built on top of ipython. In Jupyter notebooks, you’re using ipykernel to execute code interactively |
| rtree | Provides spatial indexing features like nearest neighbour search, intersection, union, joins etc. |
| gdal | Geospatial data abstraction library. GDAL provides useful command line utilities for data translation, processing, and conversion. QGIS and ArcGIS uses gdal as a backend library |
| fiona | Streams simple feature data to and from GIS formats like GeoPackage and Shapefile. Used in combination with Shapely |
| pyproj | Can project and transform coordinates across various geographic reference systems |
| shapely | Create and work with vector geometries |
| geopandas | Extension of pandas library but handles GeoDataFrames. These are DataFrames with a geometry column |
| matplotlib | Visualizations of geospatial data; scatterplots/heatmaps/choropleths maps etc. |
| mapclassify | Handles classifying data e.g for choropleth maps by providing classification schemes. Use in conjunction with geo-visualisation packages like GeoPandas |
| folium | Data visualisation library for creating interactive maps |
| movingpandas | For movement data analysis - useful for creating, analysing & visualising trajectories |
Next Steps:
Now you have your geopy38 virtual environment with all the packages above installed. To use the geopy38 environment as a Jupyter notebook kernel, type the following command:
python -m ipykernel install –user –name geopy38
To save the packages used in a virtual environment (best to save somewhere local, like documents/downloads), run:
pip freeze > {path}/requirements.txt
To then pip install packages all in one go, you can run
pip install –r {path}/requirements.txt
Testing the installation & further activities:
Having done this GeoPy should be available for use on your PC. To test that it is working open Jupyter Notebook from your Start menu, then create a new Python notebook.
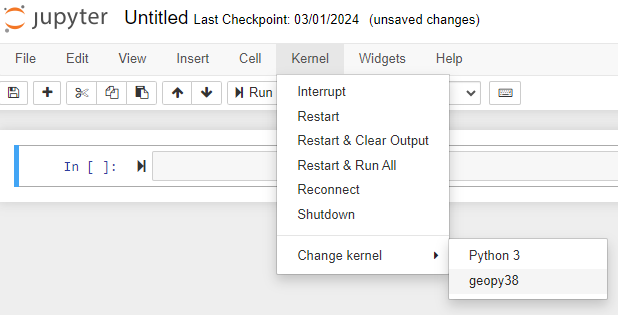
You can see if it has installed correctly by going into the Kernel menu -> Change kernel: if geopy38 is in this list then the environment has been set up correctly. To test if the packages have installed correctly, in a new geopy38 Python notebook type:
import geopandas as gpd
Press Ctrl and Enter. If that has imported with no error message, the installation within the Anaconda prompt has worked. You should be able to start doing Geospatial work in Python.